


|
THE D.I.Y. VAN
CONVERSION
Door
Decor
Cedar Plywood Panel, 48” x 48” x 0.25" -- $44
OK,
final step, right?
Yes, right! All body work: check.
Solar, electric, appliances, devices: check.
Sink, dresser, desks, bed, cabinets, storage: check.
Floor, blinds, ceiling, lights: CHECK!
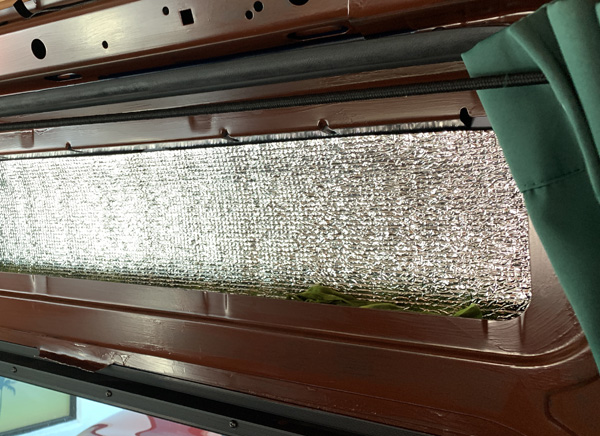
As I looked around the van, everything looked complete … except those doors. Silver EZ-Cool insulation still sparkled in the open recesses at the tops of all three doors. Black plastic panels still covered the lower halves. None of it was a good look at all. That silver, first of all, had to go!
It wasn’t going to be difficult, as such, but it would not be without its little challenges.
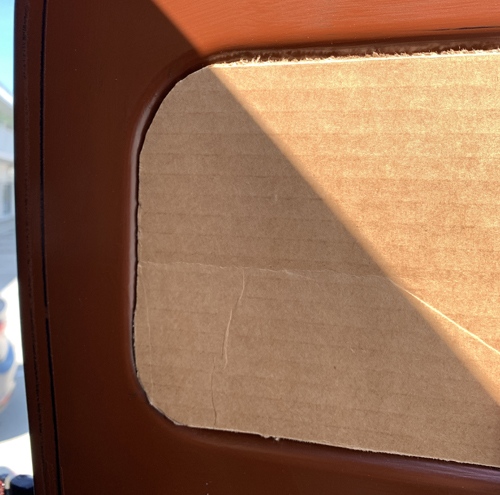
I used pencil and paper to draw them out, marking the measurements as I tape-measured them out. I opted not to use CorelDRAW for once. (Actually, for twice; I used pencil and paper for the temporary rug as well.) The side door was simple enough, but the back doors were too complicated. I know I could throw a Coral diagram together once I measured it all, but the corners posed a problem.
Rounded corners are measured by their “radius.” At work, I often cut ¼” radius corners or ½” radius corners on the sheets of metal that I print on. The 90° corners of a sheet of cut, 20-gauge aluminum can cut you bad (I’ve found that out to my dismay numerous times), so I round them off for the safety of my customers.
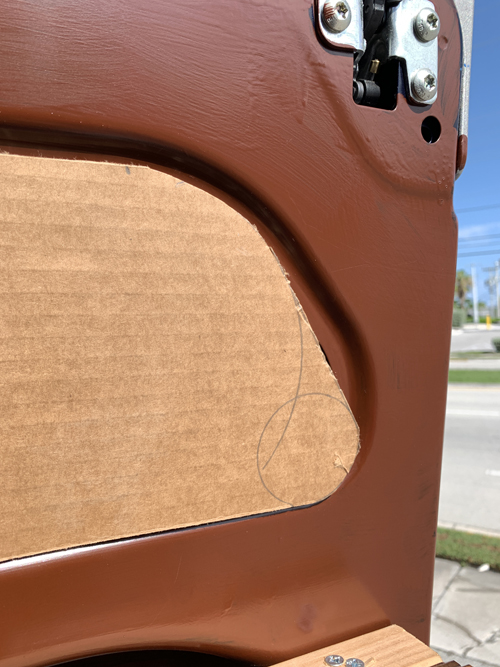
When I placed that cardboard, though, I found out that the opposite side, which looked like a straight vertical line between the curve corners, was actually tilted by a few degrees inward. So, yet another bit of trimming was required. I was very glad I did the cardboard model first.
Come on, you RAM engineers, did you have to design this thing with so many irregular shapes and odd bulges?? Did you do it just to make it hard for us DIYers? No way this extra little complication was structurally necessary. It was actually more work for you to do it like this. Probably just guaranteeing that no parts made by any other brand would fit your spaces, right? Course y’are.
The pile of scraps is pretty significant. I discarded very little material along the way. Better to have and not need than to need and not have, yes? I suppose I can toss most of it out now, and clear up that cluttered corner at work. Anyway, in this case, I was saved the purchase of another large $44 panel.
It was going to need a little bit of trimming, but that was going to be done on the curb outside. Using the 4-foot-high indoor worktable would be good – save me the awkwardness of kneeling on concrete and leaning across the panel as I cut it – but the clean-up in there is a pain. I have to cover everything to keep the sawdust out, and then thoroughly sweep off all the surfaces afterwards. Bah. Outside, I pick up the scraps, toss ‘em in my trash bucket, and let the wind whisk the fine residue off the asphalt.
Since the back doors would be the most difficult, I decided to do them first. Well, that and the fact that the slider door panel was still drying after a fresh dose of polyurethane and I didn’t want to wait.
The slim gutter had me a tad daunted. I wasn’t sure that I could drill a screw through the very edge of the cedar and through the sheet metal itself without fracturing the wood. So, I decided to try another tool form work: 2-sided tape.
I applied the ¼” wide strips all around the gutter and then lifted the small panel into place. Hmmm. It would’ve worked just fine with the cardboard, but the plywood had jusssst a little bit of a bend to it and it was scoffing at the tape.
The first one – top-center – went in without a fight. I had the drill set on the hammer setting and squeezed it on slow speed. It bit through the wood, then pulled the wood up the threads away from the metal until it was all the way through, then, with nothing else to chew on, it worked its way into the sheet metal, pulling the plywood with it, and secured itself snug and tight.
Repeat bottom-center, repeat-repeat both sides. Done. Easy-peasy.
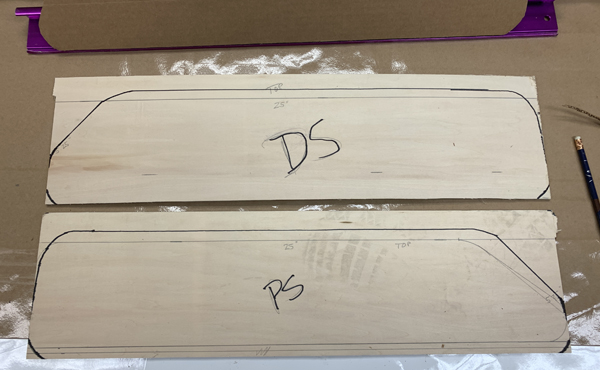
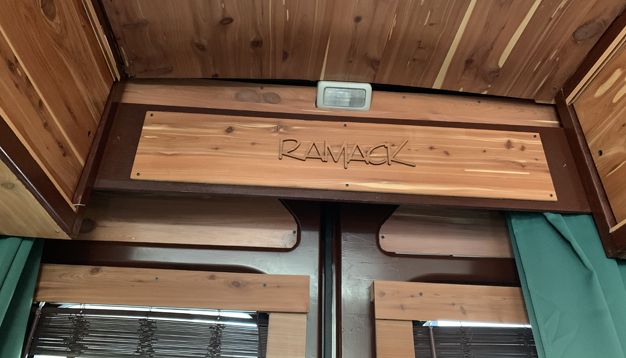
Same thing on the passenger side door, minus the wasted time with the dumb tape. The curved corners of the cedar panels were difficult to get smooth with the jigsaw. I use the circular saw for the straight sides, but jigsawed the rounder parts. I would have liked them to come out better, but, wtf, I was kneeling on concrete when I did it.
The gutter was about three times as wide, so the screws did not have to pinch the edges of the wood; they could be placed a comfortable ½” or more in from the outline. Those all-star drywall screws went right in with minimal effort and the task was done in about four minutes.
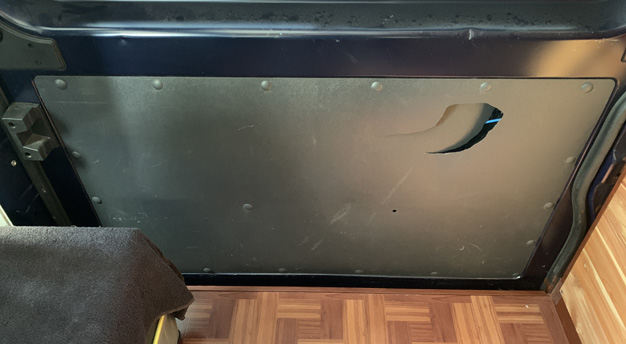
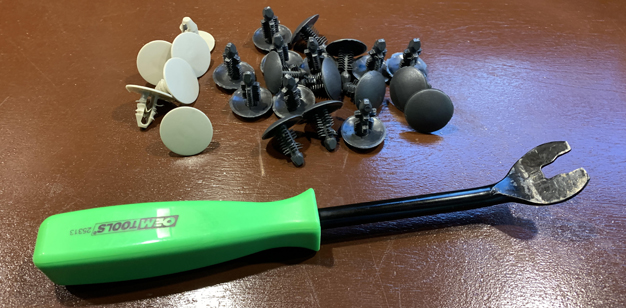
The bottom of the slider door had a larger (45” x 27”) panel. The thick, black plastic was held in place by plastic plugs. It didn’t look anywhere as distracting as the silver insulation up above had, and I might have even kept it, but the previous owners had cracked it rather significantly.
It’s too low to be a punch hole. Some plumber dude was pissed off by a human or a machine and with a blurted expletive, he lashed out with his boot, ostensibly trusting the sturdiness of the wall, but inwardly hoping to impart damage, to leave a visible remnant of his wrath as a statement of the depth of his potency when riled.
Then his boss chewed him out and threatened to dock his pay to cover the repair.
Boot Boy foiled that plan the very next day, though, by deliberately t-boning a taxi that did the ol’ Boston Roll through a stop sign, doing enough damage to total the van but successfully shifting the blame, costing the cabbie his job (and, subsequently, his wife) and sending the big blue toolbox-on-wheels to the insurance company’s body shop where they performed precision surgery, restoring and resetting him to Good As New Maybe Even Better status, which led to his purchase by a New Jersey used car dealer, who tried and failed to sell him on the Internet, then tried again and again until they found The Perfect Owner for him, who would bring him to a land where winter is warm and snow is a myth, and who would give him a new identity and eyes on the world, and take him far and wide to live in leisure for the rest of his days. Or something like that. Maybe.
Yup, that kickhole had to go. Bad juju.
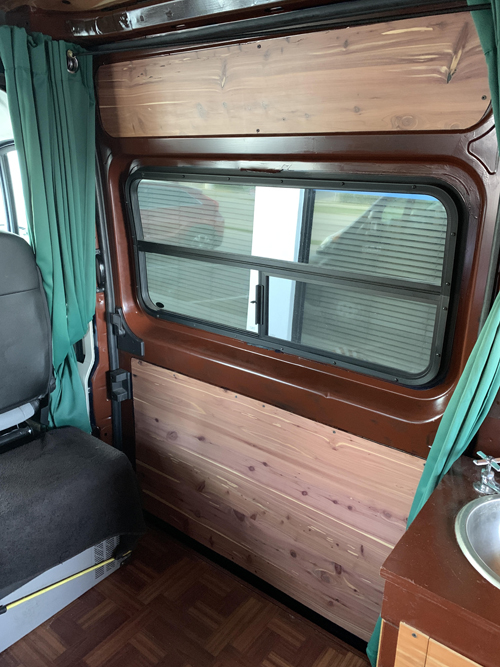
There was one 48” x 48” slab of cedar plywood left. It was already polyurethaned and ready to go. No need to measure anything or do a cardboard model; I just took the plastic piece and laid it on top of the plywood and traced the outline on the back. I kicked the kicked-in panel aside and sawed the cedar, using my trusty curb as my worktable.
There was a little bit of measuring to do now, though. The eight-square-foot hole that I needed to cover had a six-inch-wide vertical brace and another horizontally. I needed to get those located so I’d know where I could sink a couple of mid-panel screws. The ones around the edges would be cake.
I put four drywall screws across the top, another four across the bottom and one in the middle of each side. Then I added four in kind of a medium diamond shape in the middle of the panel. It is tight as can be. No rattle at all and it looks so much better. |


 [
[