|
THE D.I.Y. VAN
CONVERSION
MID-VAN
WINDOWS
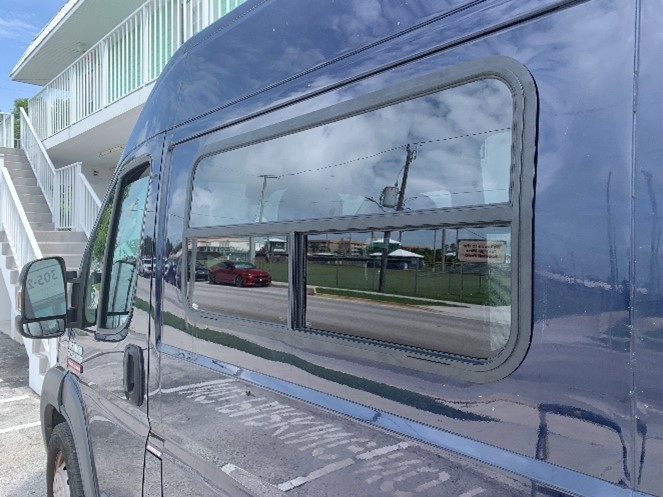
Motion Windows #159-1& #159-2, with sealant, with shipping -- $914
It was way overdue too. If you’ve ever driven a cargo van – and even if you haven’t – they have an enormous blind spot over on the passenger side. The large side mirror, especially with the supplemental convex mirror, gives you what you need to know about the side and the behind while you’re rolling straight ahead. When you find yourself at a 90° intersection, though, you’re limited to what you can see through that passenger window. That’s often sufficient, but when the angle is sharper than 90, like at a parking lot exit, or a Y-intersection, where you have to turn your head and look over your right shoulder, you are screwed. That sheet metal door gives up no secrets. And you have to undo your seatbelt and lean way forward and way right if you want to even get a glance in that direction. It is downright harrowing. Not just harrowing, mind you, but downright harrowing.
So, after several months of shrugging and cringing and hoping nobody was coming, it was time to put in some more glass and give the gift of sight.
Motion Windows (motionwindows.com) would be supplying them … once I sent them $914. The windows were $397 each (including sealant), but crating was $40 and shipping via FedEx Ground was another $80.
They do offer installation for another $125 per window, which would cancel out the crating and shipping. Given the hassle that the ladder-side back window gave me back in April, that seemed like a bargain. Especially when you consider the beating that the sliding door endures. If you don’t give that sucker a mighty SLAM into place, you’ll end up with an annoying “Side Door Open” message on your display panel.
Judging by numerous YouTube videos, that is the single most flabbergasting thing about ProMasters. It’s not just the illuminated message – that’s really no big deal at all – but, on their vans, the message was accompanied by a beeeep-beeeeep-beeeep that just won’t quit. (Thankfully, I get no such beepage; the prior owners must have disabled it somehow.)
But even that is just an annoyance, albeit a significant one. If your ProMaster’s computer deems your door to be insufficiently closed, your doors will not lock. That’s right; you can’t lock up your van! I mean, on any vehicle I ever had, if you pushed down your little knob and swung the door shut without enough force, it would click into the half-set position, but it was still locked enough that you needed the key to open it back up.
Before my project is done, I plan on installing deadbolts on those two doors. If that sensor does crap out, I can bolt them from inside and then exit the van from either of the two key-lockable doors.
But, anyway, the point of all that hoo-ha is that you have to slam that sliding door good and hard each and every time. That means your window is going to get jarred and jarred and jarred some more, so it damn well better be installed solidly. Thus, paying the Motion Windows people to do it right would definitely be the prudent approach…
IF, that is, they were not located in Vancouver, Washington (just across the Columbia River from Portland, OR), an aggressive six-day, 3418-mile ride each way. Investing a fortnight of vacation time, as well as 300 gallons of gas and all the other expenses that go with such a trek, just didn’t make sense, especially since I had success putting in two of their windows already.
Don’t get me wrong; I was eager as hell to take a roadtrip in Blue Maxx, but not under such circumstances, and certainly not during the height of this current pandemic. I was just going to have to do a good solid install myself. Pressure was on.
The process was mostly the same as Step 3 had been: cut a hole and plug it with glass. What could go wrong? No ladder to work around this time.
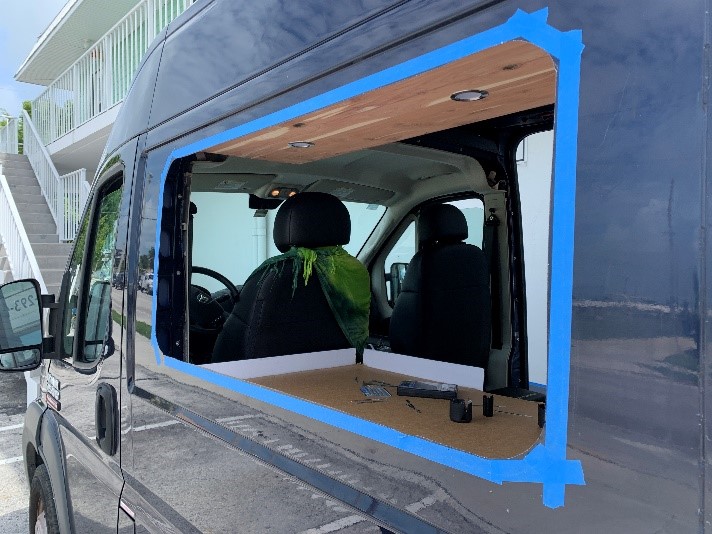
The driver side was pretty easy. The biggest issue was with the jigsaw: the larger the cutout hole, the floppier the sheet metal gets. When you have 20” of loose metal hanging behind your cut zone, that stuff wobbles, wags, and shakes like all get-out. The blade bucks and catches, and, mannnn, it gets loud! One of my blades even snapped in half. In one YouTube vid, the guy broke his blade less than halfway through his ceiling fan cut, then lamented that it was his last blade. He got his handsaw and got back to work. When the video rejoined him, the hole was done but the sun angle was waaaay down. So, I made the mental note: always have several back-up blades.
Anyway, the hole looked enormous when I stood back to see what my saw hath wrought. I prepped the window, laying down the butyl tape around the window’s rim, and giving it a light spray with window cleaner to give it a little fine-tuning room before the adhesive grabbed for good.
The window’s outer dimensions are just about 46” x 22”, and it weighs, I dunno, maybe 25-30 pounds, so it is can be a tad unwieldy. I lifted it into place and had a co-worker hold it in place from the outside while I secured the first few screws on the inside. They went in pretty easily, so I thanked her for her help and finished up on my own. Driver side done! Hoo-Rah!
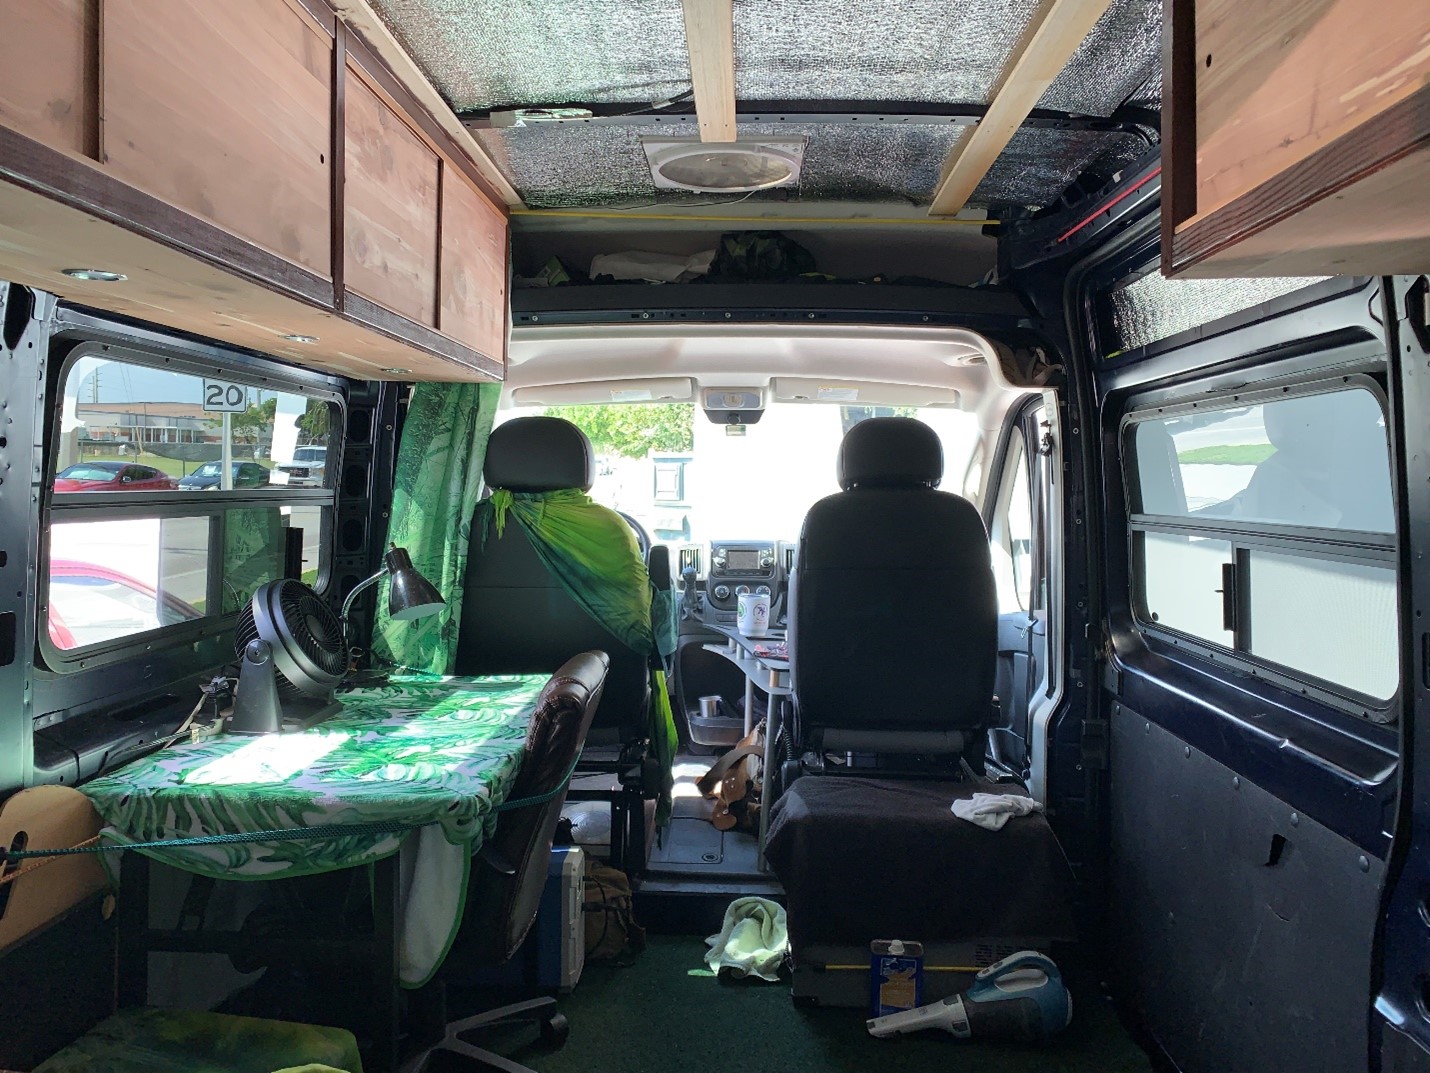
It was hot, it was midday, and it was summer in the tropics, so, despite the EZ-Cool insulation, this big blue box had heated up mightily. I had my MaxxFan running off the PowerMax DC converter, my electric desk fan was running on high off the Maxoak’s AC outlet, and there was a decent breeze blowing through all the open doors, but it was still hot enough to warrant a break.
S
The other three large window positions – driver mid-side and back-side, and passenger back-side – have 2” thick, hollow, metal ribs that stabilize the sheet metal panel from top to bottom. They are engineered in such a way that you can easily remove them with a hammer, a chisel, and a putty knife. The one on my driver-side came out without a fight and the way was clear for the install.
The rib on the sliding door is quite different, though. It is slimmer, tighter, and very permanently connected. The demo video does address this type of rib, but only for a few seconds, and it shows the ribs in a Sprinter or Transit. The video rightly states that you can jigsaw right through it as you cut the wall. That is true, I actually forgot all about it as I was cutting the hole and didn’t notice any greater resistance.
But the video then shows ol’ George easily slipping the window’s inside clamp ring between the cut rib and the wall first, and installing the window next. Nice and tidy. Well, that apparently doesn’t work on the ProMaster. The clamp ring doesn’t fit into that slot deep enough. Not even close, really.
Hence: a problem. Solution needed, and fast. I had a gaping hole in my door and no way to plug it.
I thought about cutting out the leftover ends of the rib, but I didn’t have a tool that could do it. It looked like ol’ George’s angle cutter would do the trick, but I didn’t feel like buying one just for this.
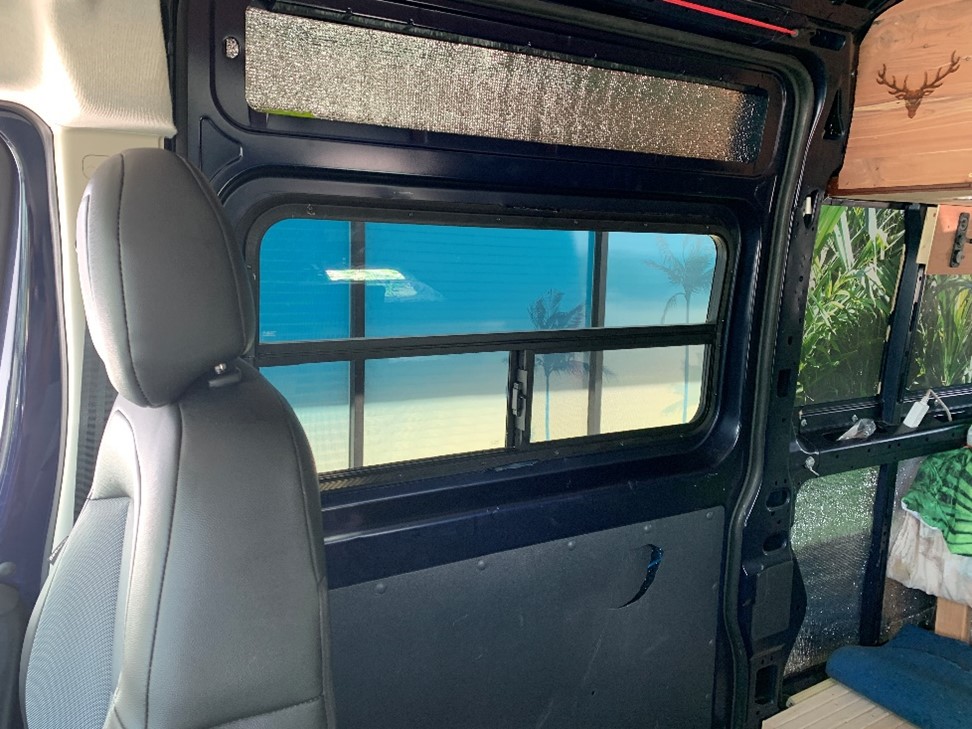
So, finally, I took my trusty pliers and just bent the damn ends as far back and over and I could. The window fit fine after that, and I screwed in it extra, extra tight. The bent-over rib-ends are still there, but you really can’t see them because the body of the window frame hides them pretty well.
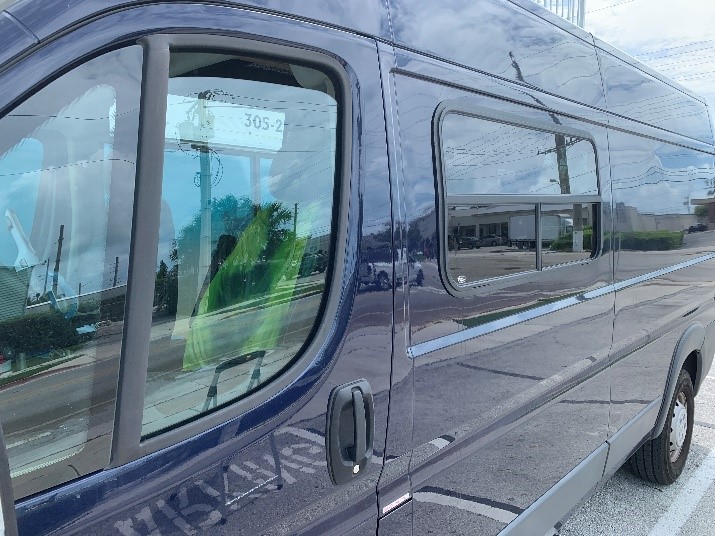
So, yay, the coveted windows are in! And the Blind Spot is gone!
As I sat back on the bed to admire the new ambience, it occurred to me that the additional light and ventilation have come with a cost: privacy and security. Gotta get me some curtains, pronto.
There is still a LOT to do – walls, ceiling, floor, and furniture, for instance – but it’s good to have this part finished.
If I do decide to put the 73”-long windows in the back-sides next year, I’m taking the ride to Washington. |


