THE
SUB-FLOOR
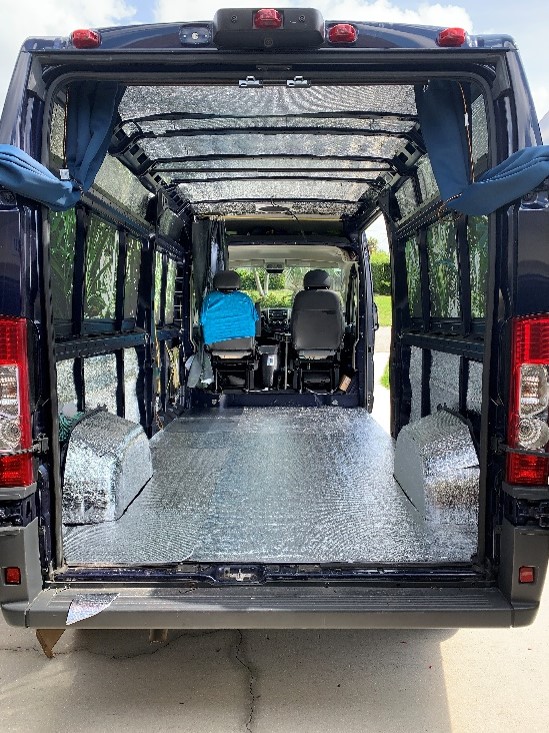
EZ-Cool Heat and Sound Insulation, ¾ of 1 roll
Southern Pine Tongue-and-Groove Plywood 48”x
96” x 0.719” – 3 sheets for $93
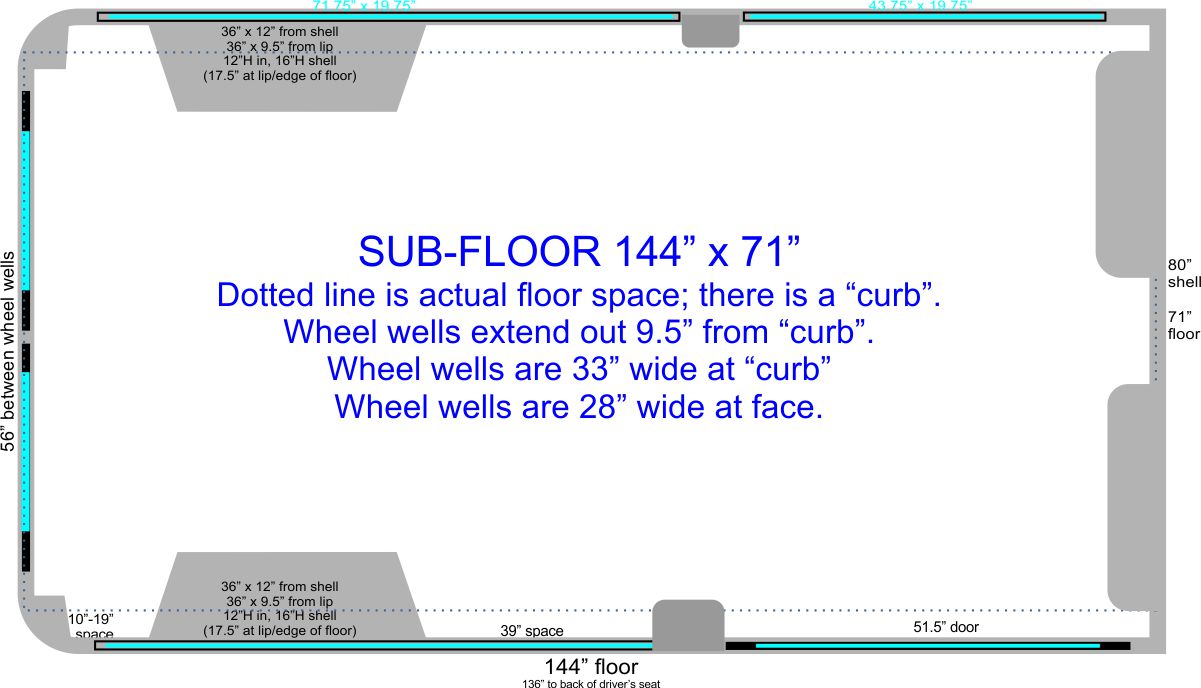
 Maxx has a big floor. 6 feet
wide and 12 feet long.
Ya.
Twelve feet.
And that’s just to the back of the
front seats.
(The full van is 19’6”
bumper-to-bumper.)
That’s 72 square feet of floor.
But it’s
not a complicated floor.
Only the rear wheel wells get in the
way, and they were simple trapezoidal cut-outs. There
is no step at the side door, so that’s not an
issue either.
ProMasters are front-wheel-drive vans,
so, with no drive-shaft running underneath to
the rear wheels, the floor sits lower.
This gives the PM a taller cargo bay
than Sprinter or Transit, topping out at a
Rick-can-stand-up-straight 6’4”, and an
impressive-sounding 456 cubic feet of cargo (or
living) space.
Maxx came
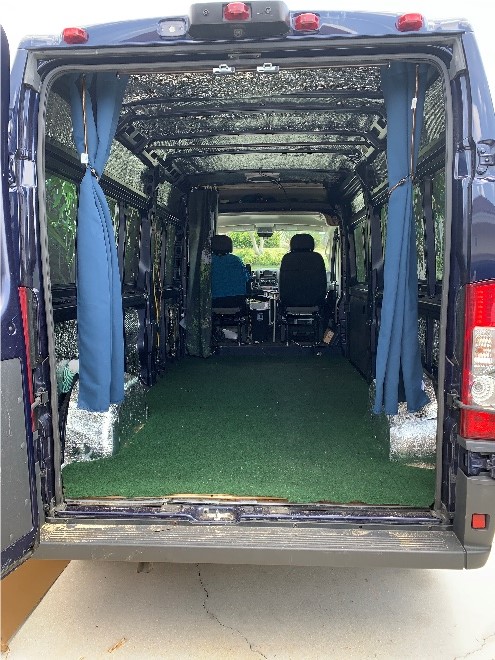
with a thin rubber floor and, as part of the the
temp décor, I laid a cheap green rug over it. No way
that was going to suffice, though.
Aside from the noise and heat of the
sheet metal, there was going to have to be
something that I’d be able to screw 2x4’s into
when I get around to building my furniture. And
there would be tile laid on top of it in one of
the very last steps of The Project.
Hence, the
plywood. Three
48" x 96" sheets of 23/32” slotted pine.
The 4-foot widths were a perfect fit in
the 12-foot bay; each just had to have two feet
of length sawed off. The middle one needed
a slight trim where the Big Rib was (just behind
the sliding door), and the back sheet needed
some extra cuts for the wells.
The
slotted sheets were key for avoiding separations
between the sheets. With their tongues
tightly in their grooves, the uniform level of
the floor was guaranteed. With a
peel-and-stick tile in the future plans, that
would matter a lot.
But before
any of that would get done, there was EZ-Cooling
to do. Many
of the videos that I watched stressed the
importance of having a layer of insulation under
the sub-floor in order to keep heat in.
Huh?
Keep it in??
Why would I want to do that?
Those folks were all into that weird
winter stuff and, thus, needed to keep the van
toasty when they boondocked out near the ski
areas and such.
Rotsa ruck to them, I say.
When winter rolls around, me be
Florida-bound.
Besides,
warm air rises, so how does floor insulation
help anyway?
Well, some videos claimed that, while
it didn’t help with the temperature all that
much, it earned most of its keep as a layer of
padding under the plywood.
The plywood was pretty damn heavy, so
its own weight would keep it from moving much,
but having that layer of EZ-Cool under it
eliminates all that wood-on-metal rattle.
I drove up
to Cape Coral to get my plywood.
I also drove up there to get my
workshop. B&J,
my erstwhile Key West besties, bought a house up
there, and it has a garage and a driveway. I
deemed those to be perfect for this kind of
work, and invited myself up to pay them an
overdue visit.
 Turns out, Brian
and I did all the work out in the South Florida
sunshine. The
EZ-Cool took just a few minutes to do.
We used the green rug – which had been
cut to fit snugly – as our template, marked the
outline on the EZC with a Sharpie, cut it with a
box cutter, sprayed 3M-90 on the underside and
on the rubber floor, and stomped it down.
Then, we
used the open back doors of the van as our work
table, sawing the plywood cuts just behind the
rear bumper, and hefting the planks into place
right from there.
Some more 3M-90 was applied to the
underside of the wood and to the top of the EZC,
just because, well, why not?
We fit the tongues of the back two
sheets into the grooves of the front two sheets,
and we were done!
What would I
have done differently?
Well, part of me wanted to bolt the floor down. That
was actually the plan.
I
didn't realize it until everything was out of
the van, but if I removed the handful
of floor-level OEM tie-downs that came with the
van, I could have used the existing holes to
drill up through the wood and used t-nuts to
lock it down.
There would have been no metal drilling to do,
and the bolt/washer would have sealed the hole
against corrosion. That probably would
have been the most significant benefit.
The floor itself was not going anywhere; it
would be bolted and screwed to things that
were bolted and screwed directly to the
frame. I kinda wish I had done
it, but at the time, well, it was getting
mighty hot out, the floor was damn
stable as it was, crawling under Maxx wasn’t
that appealing, annnnd we had another big fish
yet to fry: the solar panel installation.
