|
THE D.I.Y. VAN
CONVERSION
THE
DRESSER
Prime Whitewood Stud, 2” x 4” x 96” – 8 @ $6 each ZMax Brackets, assorted, many -- $25? Tempered Hardboard, 24” x 48” – 2 @ $4.20 each Knape & Vogt P2417 72" X 1/4" Sliding Track & Guide Kit, Tan -- $23.99 Cedar Plywood, 24” x 48” – half of a $42 panel 2 Aluminum Recessed Drink Holders 3.5” diameter - $28 for 10
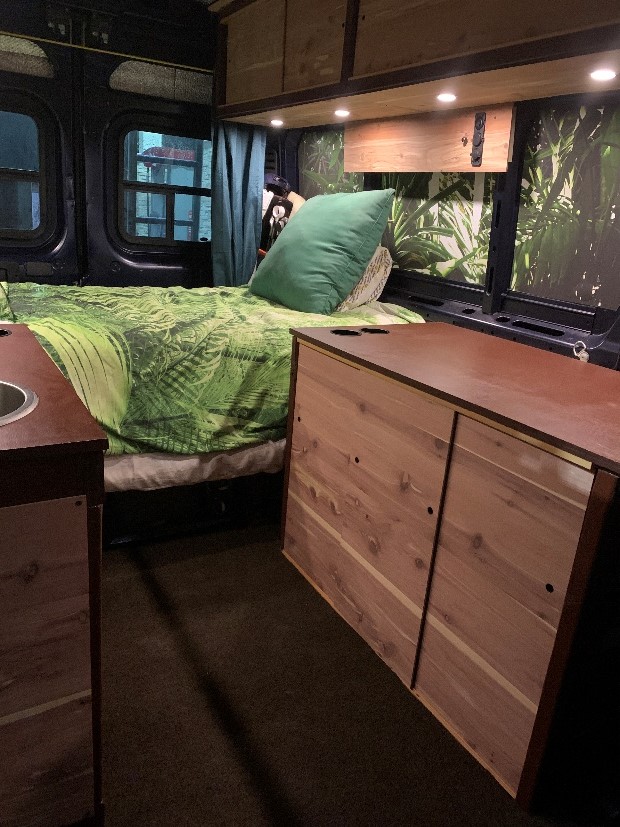
So, the passenger side furniture construction was done. Time to build another boxy hoo-ha on the driver side: a combination desk and dresser with 9 drawers and sliding doors. I often refer to it as my “dresk”.
The structure itself was pretty basic, but it had to be sturdy and solid as all get-out. I didn’t want 100 pounds of wood hitting me in the back of the head if I had to lock up the brakes some day.
I had 28.25” inches of height (under the ¾” plywood countertop), 44” of length, and 23” of depth in which to include 9 fabric bins that measured 19.7” x 11.2” x 8.3”. I’d be
using them sideways, so their width (19.7”)
matched up fine with my depth (23”), and their
depth (11.2”) matched up fine with my width
(14.5” per section, with 1.5”-wide studs as
dividers).
That was all hunky dory.
The issue, though, was going to be the height. Originally, the plan called for just 2 rows of 3 -- with about a foot of vacant space behind them -- but 6 bins just didn’t feel like enough, and there seemed to be way too much wasted space. If I was really going to live in this vehicle, then everything I owned was going to have to be carried in it. The more I could carry the more I could own. If it don’t fit, I don’t own it. Simple as that.
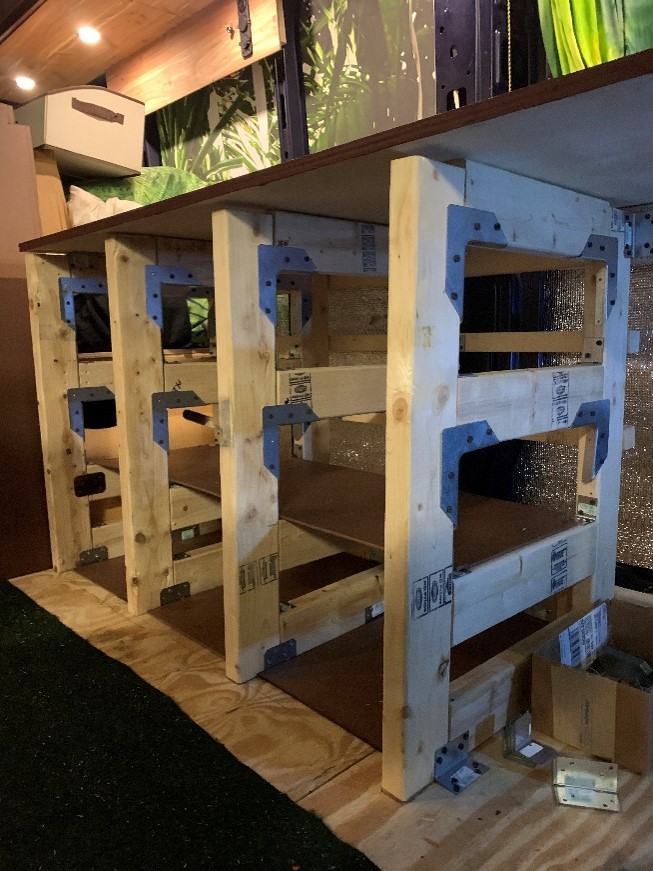
So, I needed to fit those bins 3-high instead of 2, and increase my dresser storage by 50%. Three rows tightened things up a lot, though, and now there would not be enough room to have frontside crosspieces; the compartments would have to be open-fronted box frames. The shelves would have good 2x4 support on the sides and back, but nothing under them in front except the 1/8” tempered hardboard.
So be it!
I looked at my pile of pine studs for a while, resigned myself to the fact that the job was not going to do itself, and started cutting.
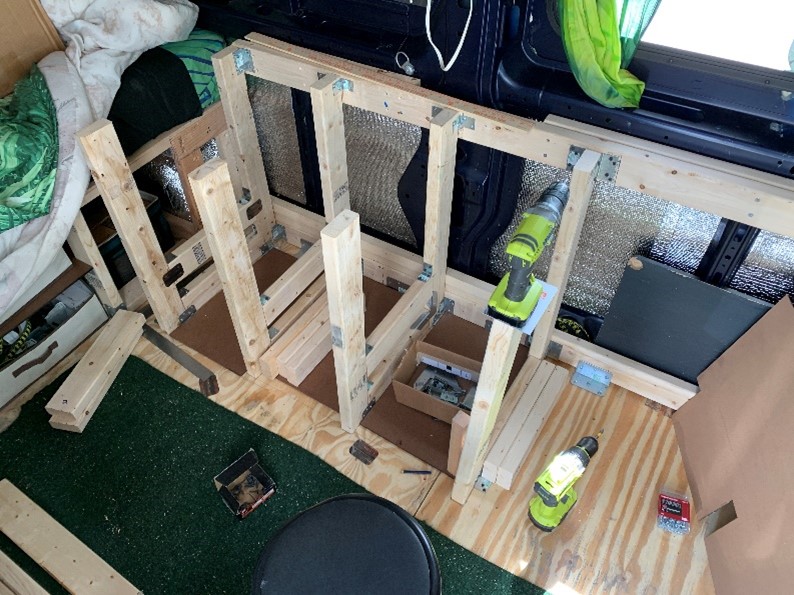
I started by bolting 2x4’s to Maxx’s “waist” and screwing a long stud into those anchored pieces -– same as I had during the sink build.
Then I affixed a horizontal stud to the floor using large ZMax brackets and secured five 28.25” upright studs to both crosspieces with still more ZMaxes.
Next came the 16” floor braces – 2x4 studs standing the tall way (I’m sure carpenters have a cooler term for it than that, but, as you can tell, I’m no carpenter), fastened firmly to the floor with still more ZMaxes (let’s just call them ZM from now on), as well as to the lower crosspiece with ZM.
This part of the project used a lot of ZM. In fact, just assume that I used ZM everywhere one piece of wood was attached to another.
countertop.
The shelves themselves were the 1/8” tempered hardboard, but in 2 crossing layers. The lower layer ran the length of the 3 columns. Though the recess was 23” deep, this layer was only 16” wide. Any wider and it would not have fit between the uprights.
The upper layer, 22” deep and 12” wide, lay perpendicular on top of it, and was attached with 2-sided tape.
I also attached a 44”-long 2x2 along the back of each row, to keep the drawers from sliding off the back.
At this point, I laid the 78” x 24” slab of ¾” Sande plywood – same stuff as the bed platform and sink counter – on top of my frame and screwed ZMs in from the underside, 2 on each side beam, and 2 on the back beam. I attached from below because I did not want anything showing on the countertop. The ¾” screws were perfect; the width of the ZM bracket gave just enough extra thickness to keep the screw point from breaching the surface.
This thing is SOL-ID.
I had been at it all Sunday afternoon and into the evening, taking my careful time with each step, and I had been working by the light of my upper deck puck lights for a while now. I took a 34° Sierra Nevada Pale Ale out of my Alpicool DC Refrigerator and sat on the bed to ponder the steps to come, scout out for any necessary adjustments or avoidable pitfalls, and to gird up my loins (whatever that means) for the next stage: the doors.
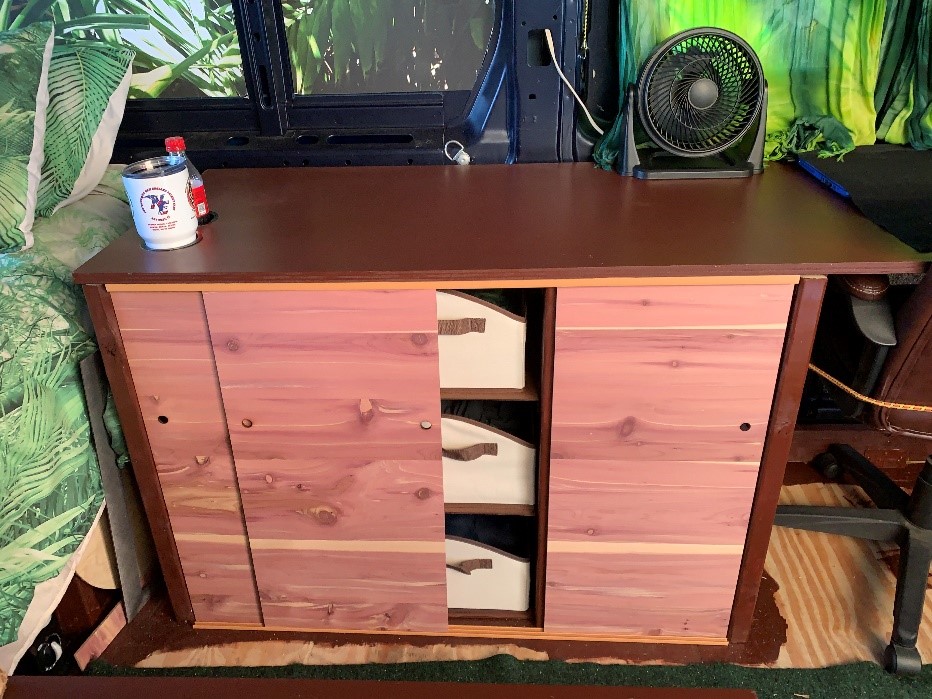
The doors did indeed prove tricky, but with a fresh mind on another day, they weren’t bad. I cut 41”-long pieces of the upper track and lower track and installed them with very small screws through the slots and into the floor and the underside of the countertop. A narrow overhang had been cleverly planned and created just for that purpose. The 2nd and 3rd uprights were set back 3/4” to make room for the tracks, which ended at the 1st and 4th studs, which stood farther forward. It was an almost perfect fit, not quite spot-on but definitely close enough for the likes of me.
For good measure, I whipped out the ol’ 3.25” hole saw and cut two holes near the front corner of the back end, accommodating a couple more of those recessed drink holders, one for the cup, and one for the bottle. Now, if I was in the mood to lounge on the bed facing towards the sink side, I’d have receptacles at the ready. Gotta plan for all eventualities, yes? =)
Now, around the time when I gave the sink counter a double coat of polyurethane, Brian suggested that I consider doing the same to the cedar, saying it would only do it good, not hurt it.
I pondered it for a while. The raw cedar looked really good. But I looked at the panel on the side of the sink cabinet, and at the doors. They were bound to get splashed, and, hence, spotted. I relented and gave them a coat.
The color immediately changed, losing its reddish tint and becoming more of a tan. Hmm. I had to admit that it did look good. I had used matte finish polyurethane, figuring it might keep the wood looking more genuine.
Well, now I had to do all the other cedar – basically, the 12 sliding doors -- so they’d all match. They were easy since I could just lift them out and take them inside to the worktable to brush them down. To my surprise, I got very enthusiastic about it and did the backs and edges as well as the faces.
Even more to my surprise, I took it a step further and went and bought some glossy finish polyurethane and redid everything with a double gloss coat. Mannn, it looked so much better!
|


