|
THE D.I.Y. VAN
CONVERSION
THE
ROOF FAN
MaxxAir MaxFan $243 / Dicor Lap Sealant $11 / Dicor Buytl Tape $17 It was HOT in here, even in
March. The
sun heated the roof to the point where the
ceiling was too hot to touch, and that
radiated into the big closed box.
I needed ventilation. I had had
Maxx for a month already, so it was time to
Get To It.
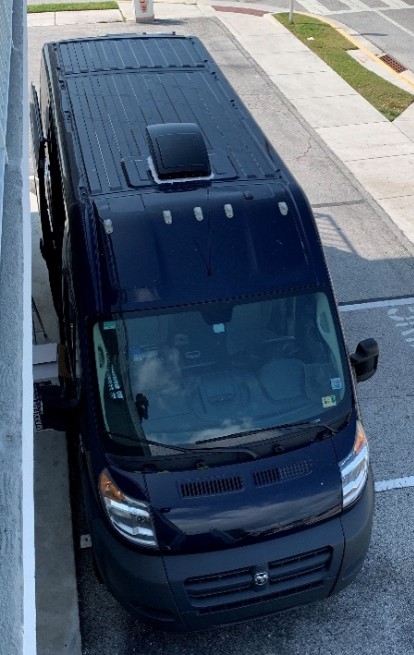
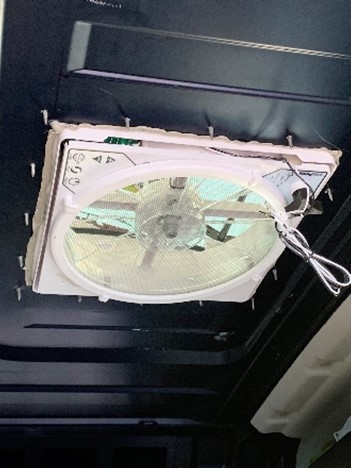
I climbed up the tall backdoor ladder with a drill, a jigsaw, a tube of lap sealant, some butyl tape and my MaxxFan, and got to work. A couple of YouTube videos had shown me the how-to’s, and it didn’t seem that hard, but there is something VERY daunting about cutting a hole in your vehicle, especially if, like me, you have never even held a jigsaw in your hand before. The hole had to be a pretty precise 14” x 14” too. As instructed, I Sharpie-marked the square
on the ceiling (i.e., inside) first, to make
sure that I wouldn't be cutting anything that
I didn't want to cut. It was a good
precaution but, really, there was nothing
there to worry about. My biggest worries
were those long horizontal braces up
topside. As it turned out RAM had left a
flat space about 16" x 16" right where I
thought the fan should go. To be honest, though, I probably thought
the fan should go there because the
flat space was there. Anyway, I took one last look at the
unspoiled steel of the ceiling, and with a big
"here goes nuthin" sigh, I drilled some small
holes just inside the corners of the
squares. Then I went back and used my
biggest drill bit on those same holes; these
were the starter holes for the saw. I
could lower the jigsaw into one, fire the tool
up, and just cut my way into where I had
traced the same square on the roof (i.e.,
outside).
That “zipping” was loud as all get-out, of
course, but once I high-geared the saw, I was
done in about two minutes. It took another 20 minutes or so to prep the hole with butyl tape, screw the fan in place, and gob it all down with Dicor lap sealant to waterproof it. And that was it! Damn, was I freaking proud of myself! Ha. Of course, I had no idea if it worked. It’s DC powered and I did not have my AC/DC wiring in place yet. But at least I could crank it open and let some of the heat out.
Here are a few of videos I watched that were very
helpful:
>
Ray Outfitted. The
pride and joy of Mr. & Mrs. Oufitted, Ray gave
an excellent demonstration of how simple the
drilling and cutting process was. I will
say, though, that the actual jigsawing is MUCH
LOUDER in person.
>
Mark
Polk. Mark replaced the fan in his RV
with a MaxxFan, so I didn't get to see him cut,
but it helpful for showing how to properly seal
it. The man loves his Dicor. He was
very thorough and his steady, level tone of voice
is classic.
>
Adventures in a Back Pack.
Ace uses angle cutter instead of a drill to start
his insertions on the roof of his Sprinter, which
had the roof braces in the way. He shows how
he dealt with that. I did not have that
issue with the PM.
I'm going to finish each page by asking: in
retrospect, what would I have done differently.
What would I have done differently?
(See?) Nothing, really. I hope I end
up saying that a lot. As
far as the actual installation goes, it
all went fine. If I ever do another van
project though, I'd get my DC power in place first
so I could wire this up and make sure it did in
fact, work -- before I sealed it in,
and, yeah, even before I cut the damn hole.
As it worked out here, all was well, but I didn't
know for months.
|


