|
THE D.I.Y. VAN
CONVERSION
THE
WALLS
Cedar Plywood Panels 24” x 24” (6) – 1.6 48” x 48” panels @ $45 each Prime Whitewood Stud, 2” x 4” x 96” – 8 @ $6 each General Purpose Screen Pine Moulding ¾” x ¼” x 120” -- $6.10
Well, they are done, and they were a big chunk of the project, for sure. I look around and think, “if I had to live in this, as is, I could.” And that’s a good feeling.
But, really, there is still a lot left: the ceiling, the floor, the doors, the blinds, and, yes, the walls. And the walls are exactly what gets done next (i.e., now).
I mentioned way-back-when that many of the videos I watched showed vans in which the walls seemed to be the very first thing done. In fact, The Moose, my 2nd-ever conversion van, had completed plywood walls and floor when I bought him, but nothing else.
I’m not saying that those people were wrong, and I would not argue at all with anyone who says that I’m wrong, BUT by doing all those boxes first, I’m left with not a whole lot of wall to deal with. In fact, just three 24” x 24” panels on each side will do.
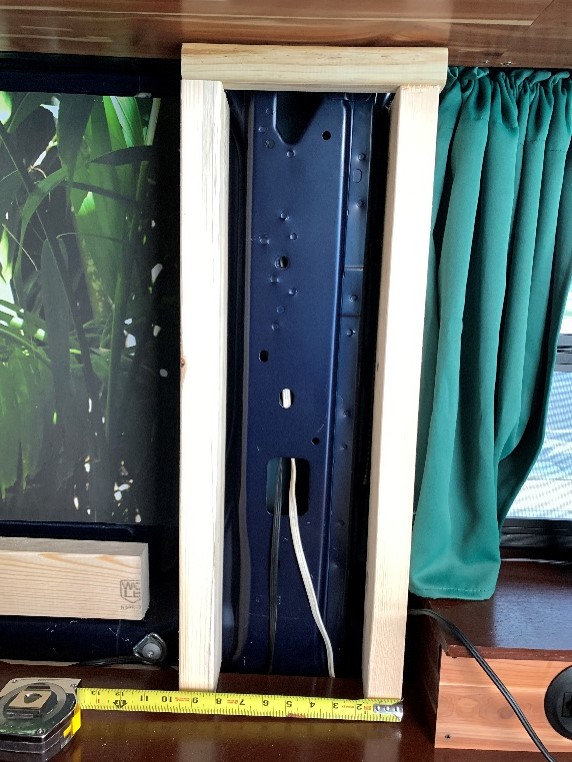
There was one awkward thing first, though: The Big Rib. Yeah, that mid-van bulge was still a big blue eyesore between the countertop and the cabinets, and it had to be covered up.
The solution: well, build a … box … around it.
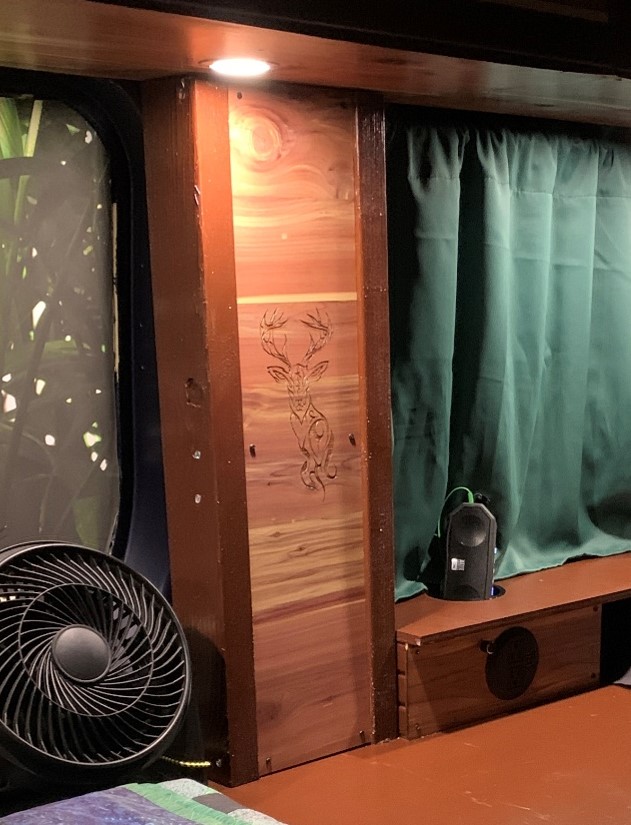
A 2x4 upright on each side provides enough depth, and three 2x2 crossbeams (at top, center and bottom) give it stability and provide attachment points for the slightly recessed deer panel.
The frontmost stud is anchored with 2 long screws into the step of the desk shelf at the bottom and is attached with ZM’s at the top. The rearmost stud is ZMed top and bottom.
There is a gap behind it, but that will be covered by the next step: the paneling itself.
This took some figuring. I wanted the walls to be 1/8” cedar plywood, but I also wanted them to be sturdy enough to support my head if I decided to lounge against them while on the bed.
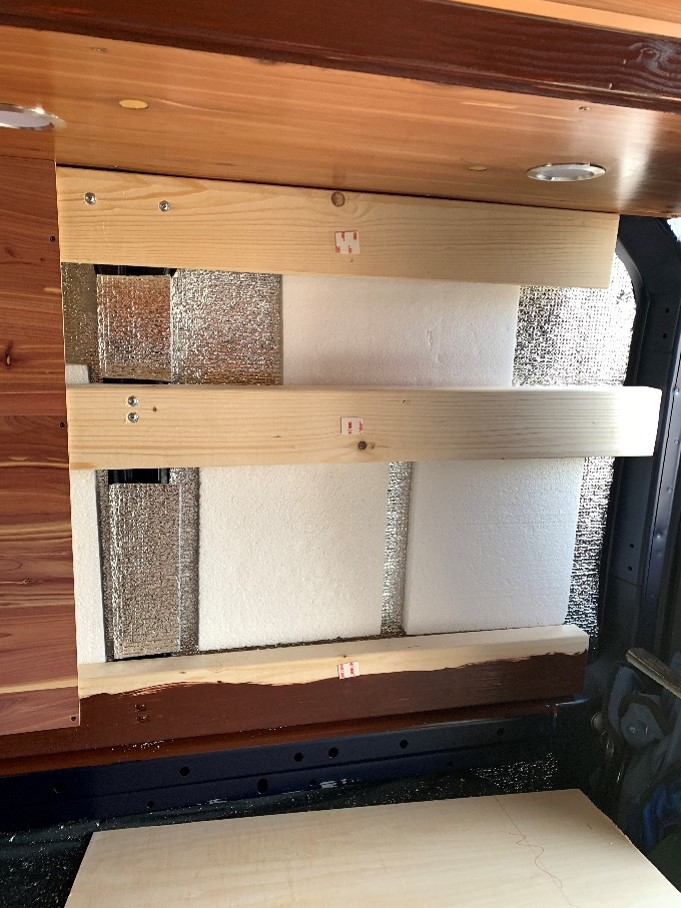
The back section of the ProMaster walls is built to allow for windows: it is about 6 feet of sheet metal, with 2 removable ribs about 2 feet or so apart. I didn’t want to remove them; I needed them to secure my walls to.
Before I did any of that stuff, though, I broke out the leftover roll of EZ-Cool insulation, and several slabs of styrofaom that I’d been saving from received packages at work, and spray-glued them to cover as much of each section as I could.
I have to admit that I liked the look of the tropical vinyl that had filled those spaces so well for almost a year, but I was happy to replace them with some heat protection.
On the few short roadtrips I’ve taken so far in Blue Maxx, those steel walls heat up really fast in the southern sun. And since they are at both the head and foot of the bed, it’s hard to escape that radiant heat while I’m trying to sleep a little late. I never have been a morning person.
So, with the walls well-insulated, it was time to mount the studs. Bolts would have been ideal for that, but the spaces in the ribs were too small for me to get a nut around the end. Hence, screws had to do. I drilled narrow pilot holes through the studs and used self-tapping screws that would penetrate the steel rib. The screw did have to bite its way through the sides of the pilot holes before reaching the metal, so the attachment won’t have any rattle or looseness.
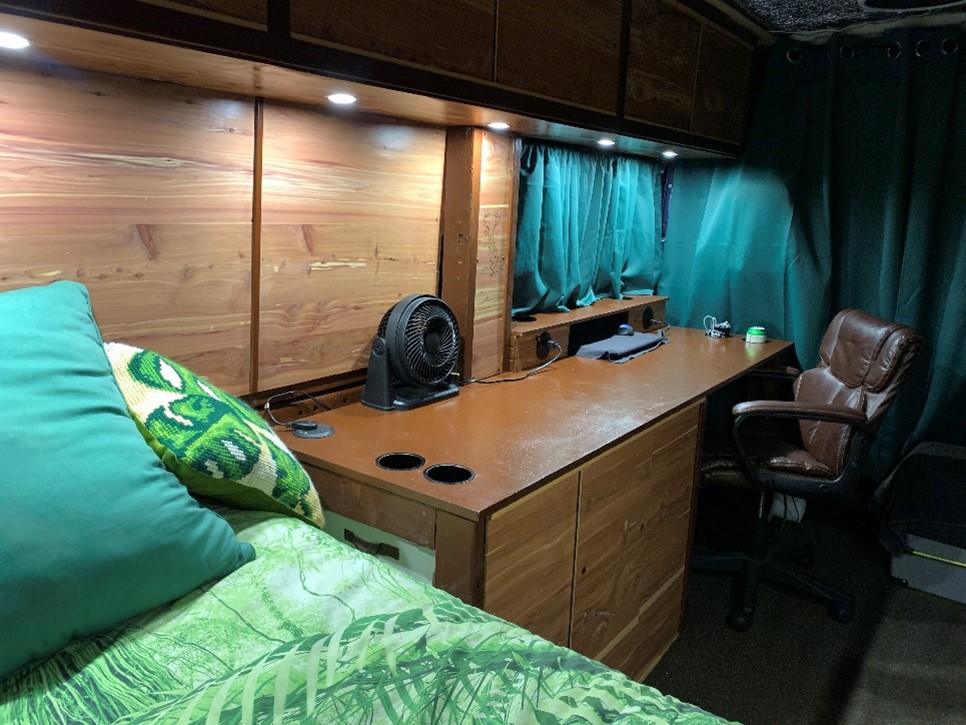
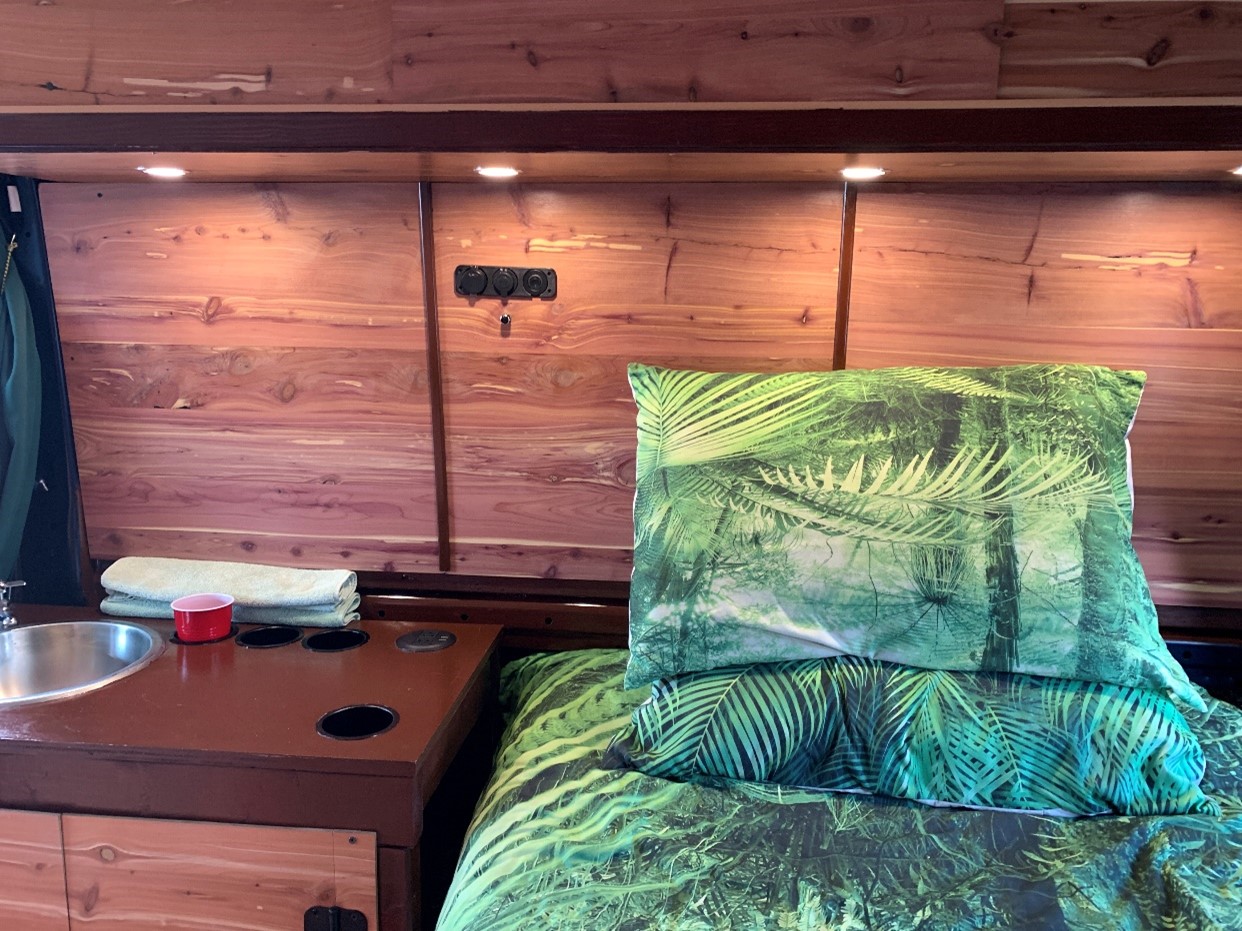
Anyway, the 24” x 24” cedar panels fit snug up against the bottom-back of the cabinets and fit perfectly snug against one another. I screwed them in as close to their edges as I could.
I had picked up some very thin moulding at Home Depot that I hoped would cover the seams and the screws. It was just ¾” wide, and only ¼” thick. They got cognac- stained as well, and ended up being an excellent cover, as well as fine dividers for the long empty wall.
The passenger side had a wrinkle in store,
though not that I wasn’t expecting it.
In order to put up the full-sized
paneling, I had to take down the temporary small
panels that held the DC outlets and USB ports. The
driver side
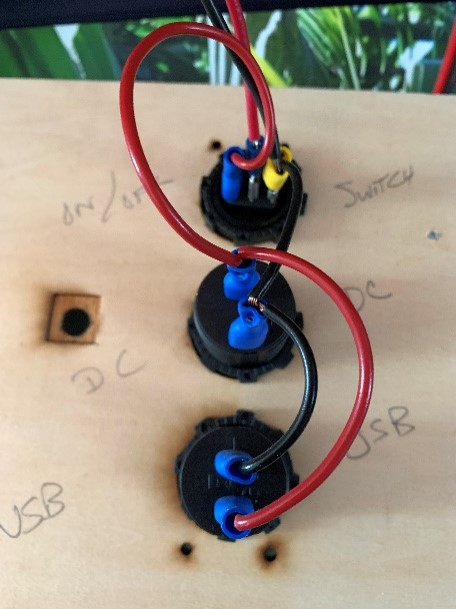
On the passenger side, however, I was keeping the DC and USB, as well as the PS dimmer, and all that needed to be properly measured, drilled, lasered and rewired.
I took pictures of it all as I dismantled it so I’d know how to put it all back together. The dimmer switch needed a square recess to fit into or the stem for the switch would not hold the knob. The laser did a fine job on this when I first did it, but I burned a little too deep this time, and ended up with a slightly wobbly knob.
It’s the type of thing that, if you were paying someone to do this, and you ended up with such a wobble, you’d be irked. Maybe even vexed.
But since I did it to myself and knew for sure that I could live with it, I just shrugged it off. It was definitely not worth redoing that whole panel just for a WK (wobbly knob).
The panels don’t extend all the way to the back corners, but I have plan for those spaces anyway. I’ll let you know when I figure out what it is.
|


